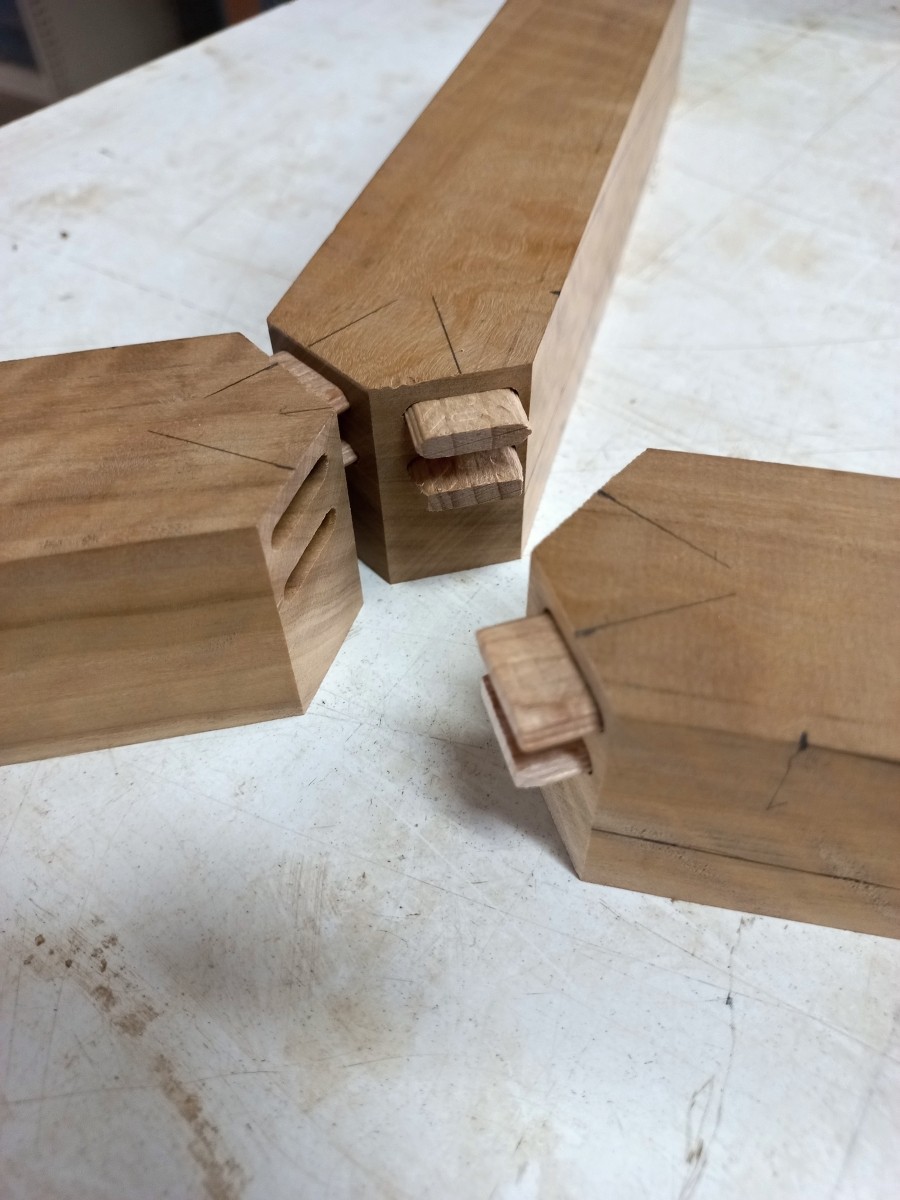
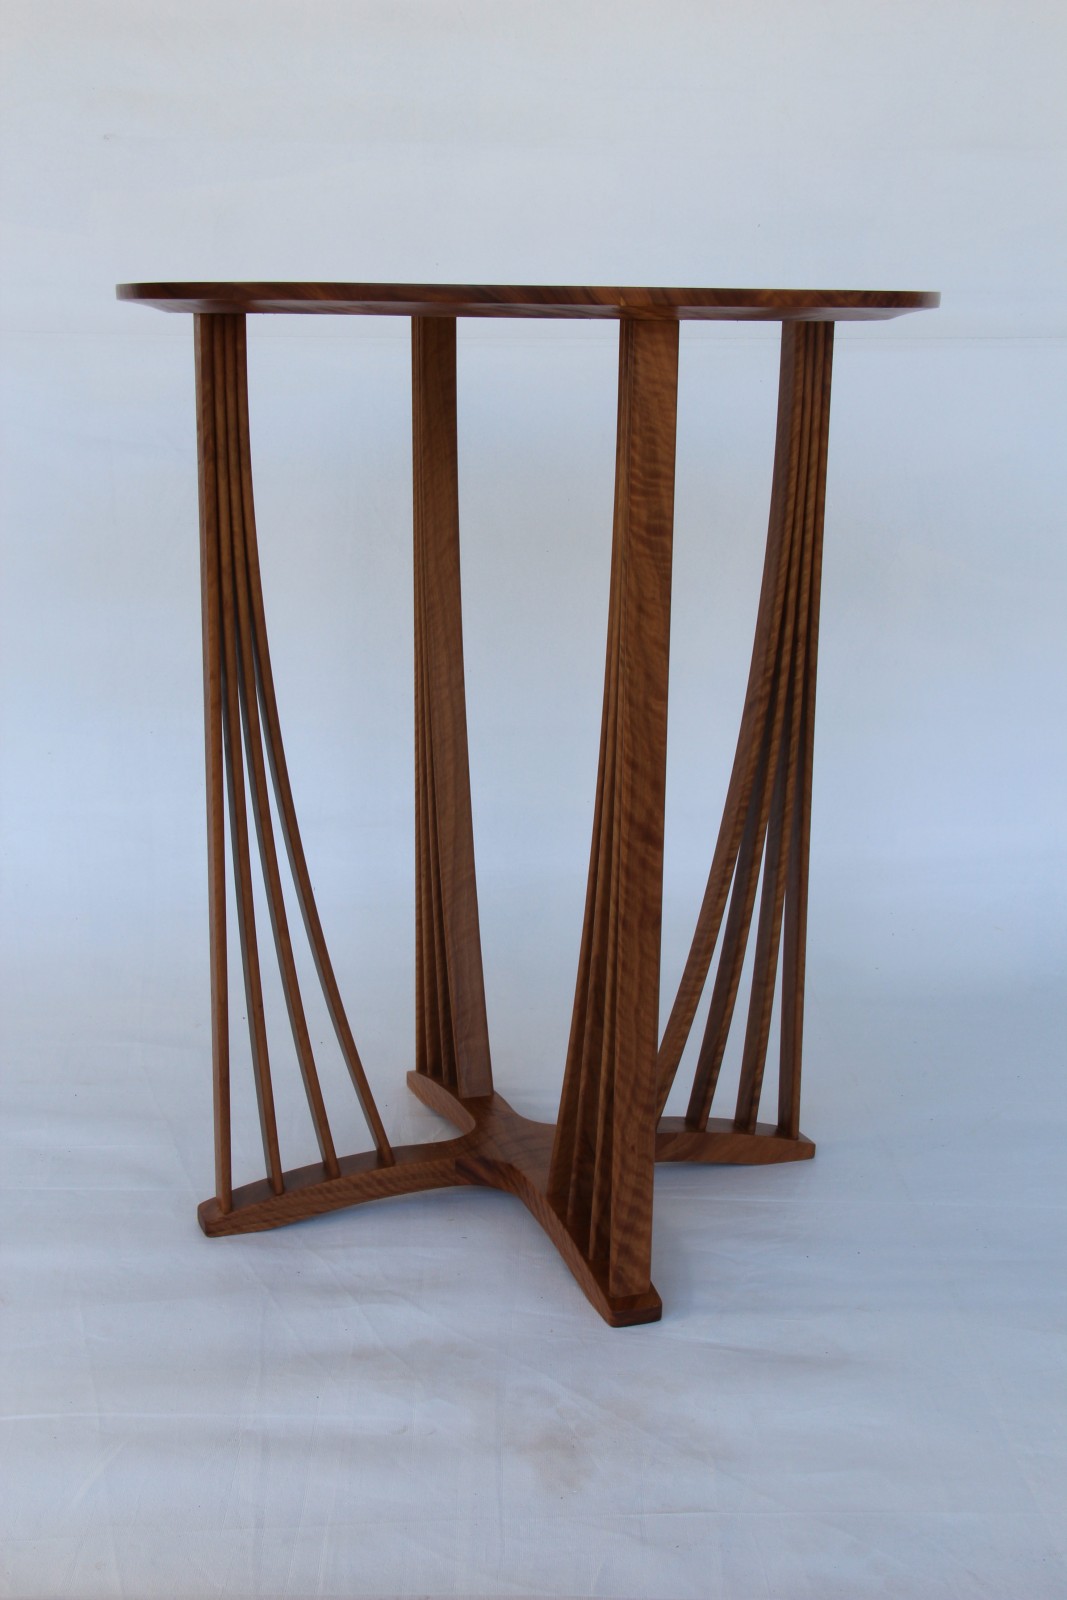
The feet of the legs seemed like the obvious place to start with this design
but only the tops were shaped initially as keeping the baseline in tact
was going to make the next few steps easier. On the 3-legged version I cut
the centre joinery before moving on to the holes for the slats.
Making the 8mm thick slats was fairly straightforward. They were cut to
width to suit the widest hole the Domino will cut using the 8mm bit (31mm)
and rounded over with a 4mm radius bit in the router - KISS
principle!
I cut the slots in the feet by holding the Domino as securely as I could on
the curved tops of the feet, lining things up against lines marked out for
the angles of the slats ('mad-eyeing' as we call it!) and managed to get most
of them right but decided a jig would be much better to cut them on the next version.
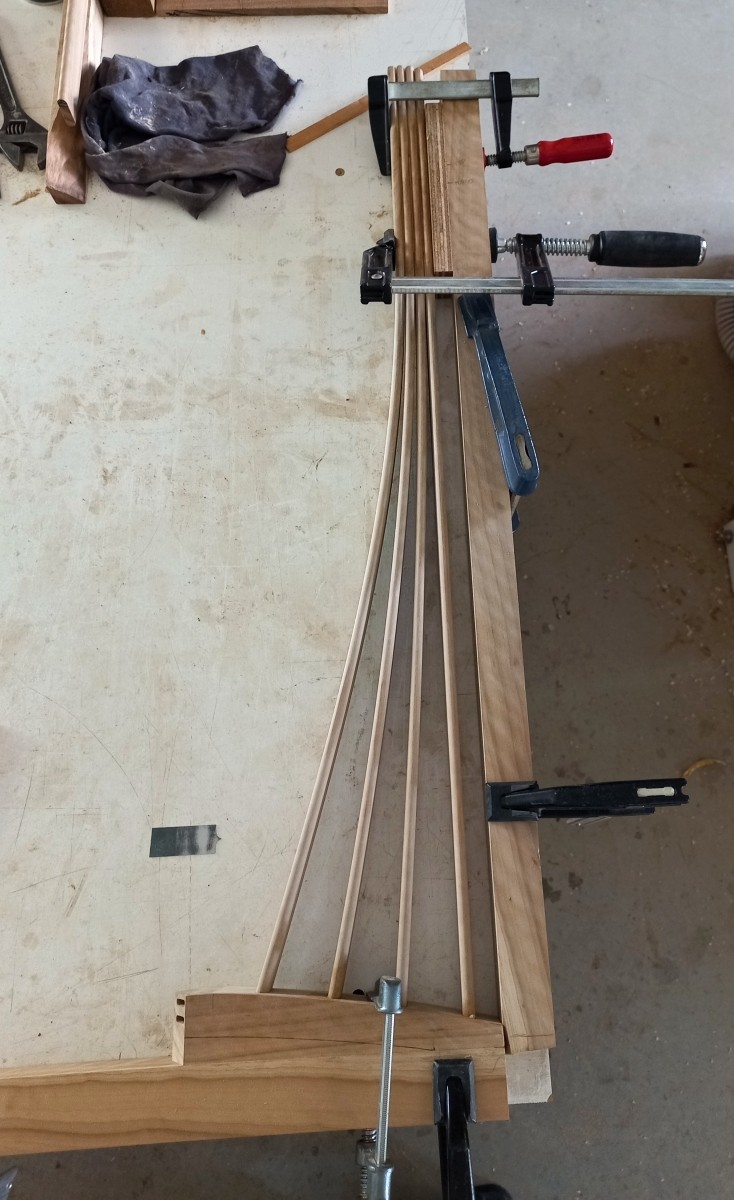
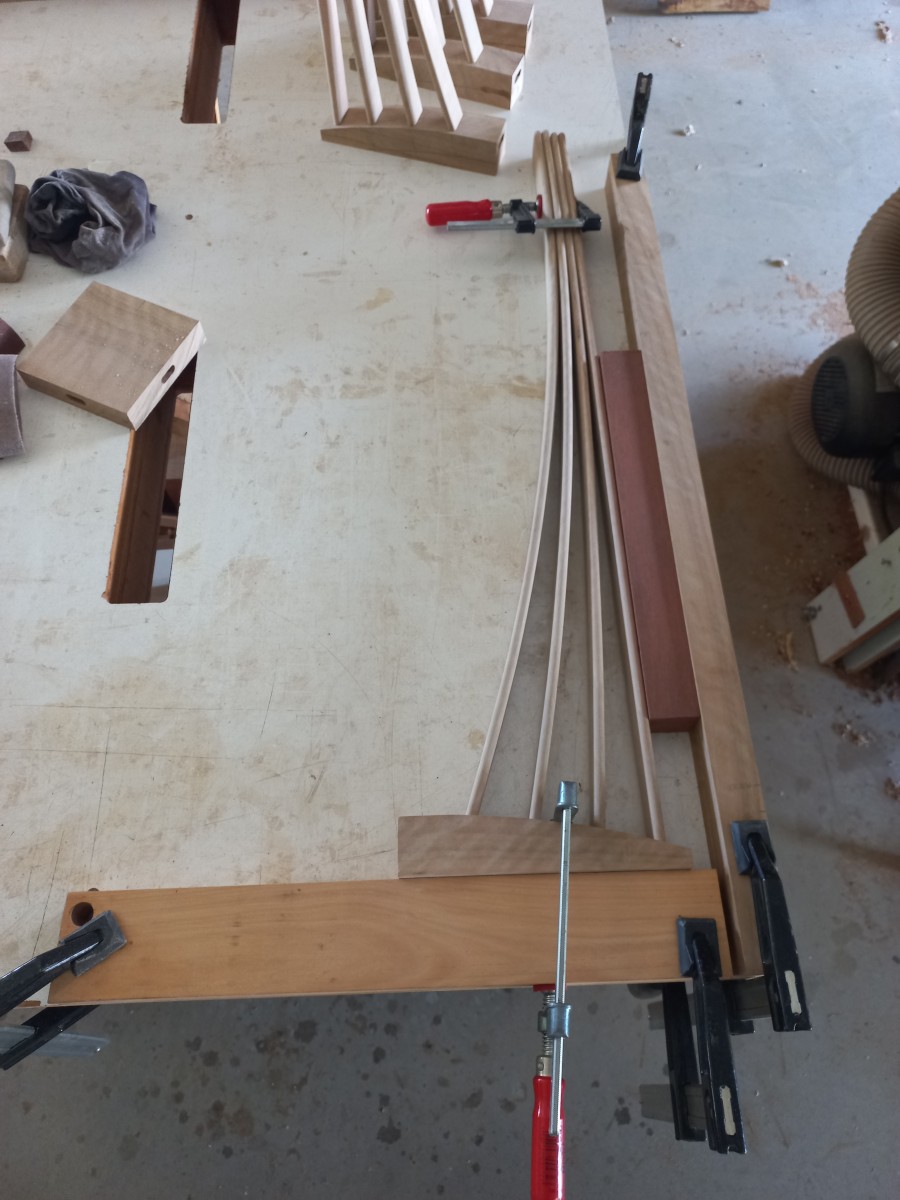
As pictured, the slats were glued in to each foot at the same time the top
ends were glued and clamped together. The real test came when the clamps
were removed to see how much the bending of the three inner slats would
affect the straightness of the outer slat, and if the glue would hold
against that tension until the ends could be captured in the tabletop.
Note: If you look carefully at this pic you will notice the small scraper I
made for cleaning the glue out from between the slats.
As it turned out there was only a small amount of bending apparent on the
outer slat which can be seen here where I am trimming the legs to length and
forming the tenons on them.
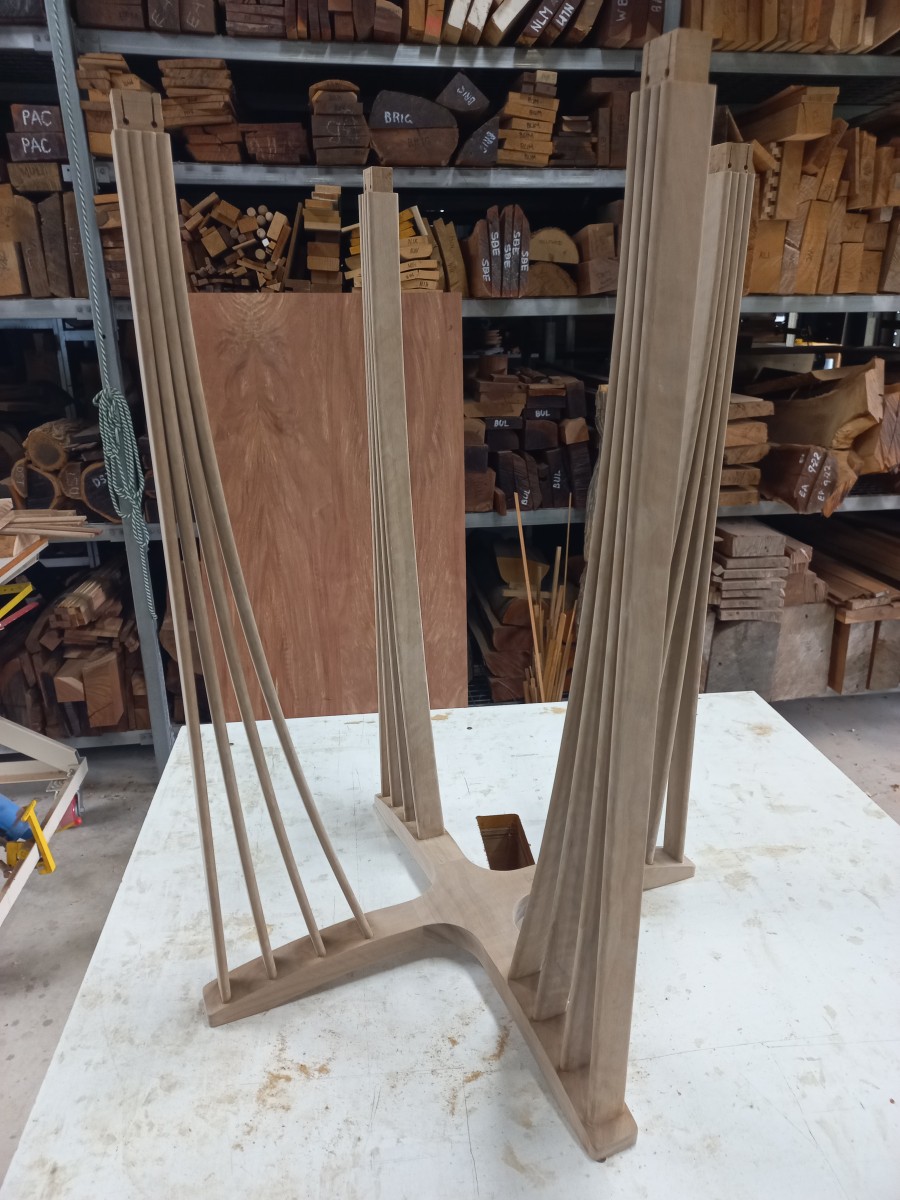
Once the tenons were formed, I shaped the bottom profile of the feet using the bandsaw
and smoothed them ready for assembly.
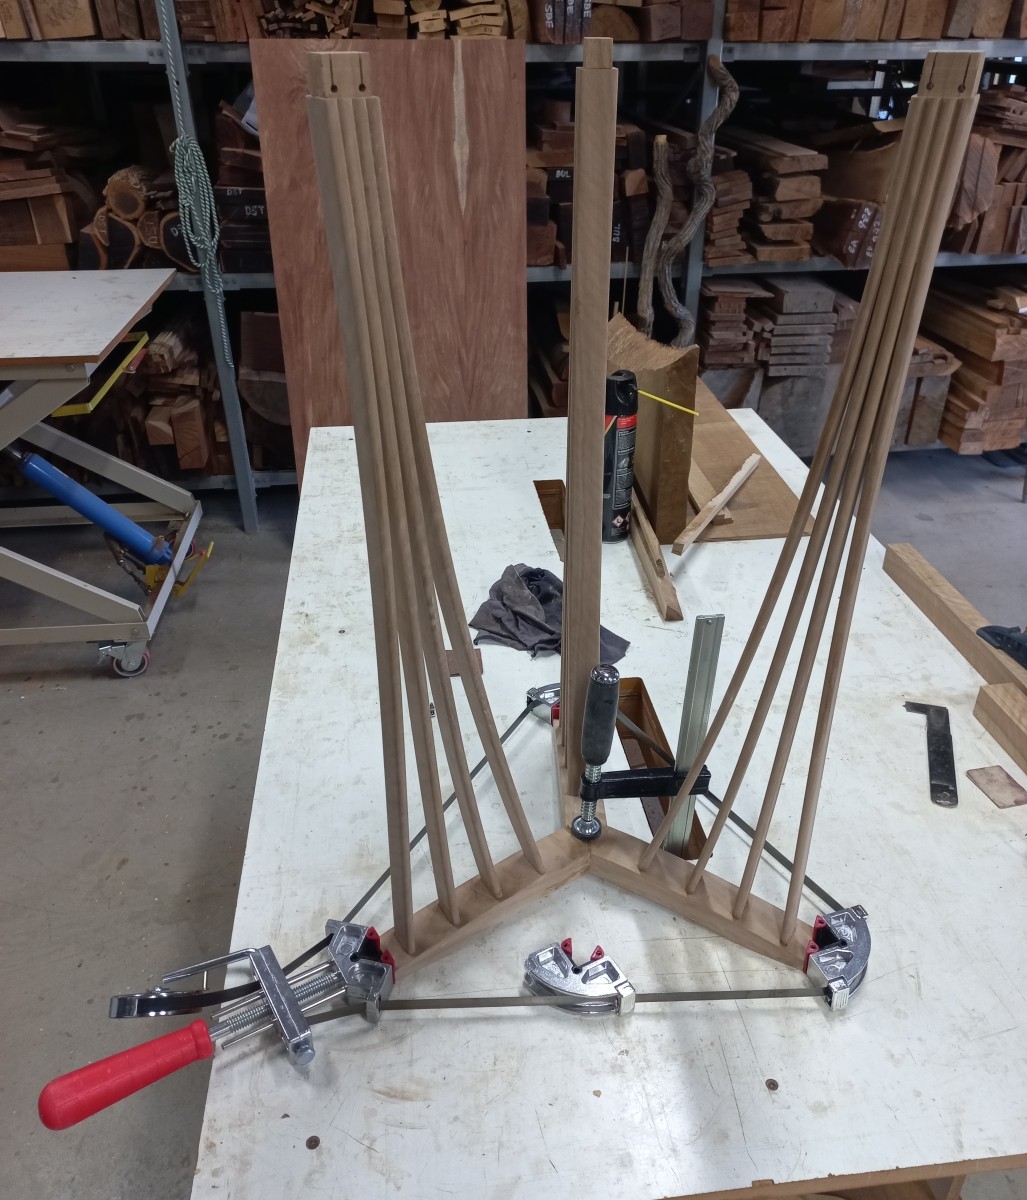
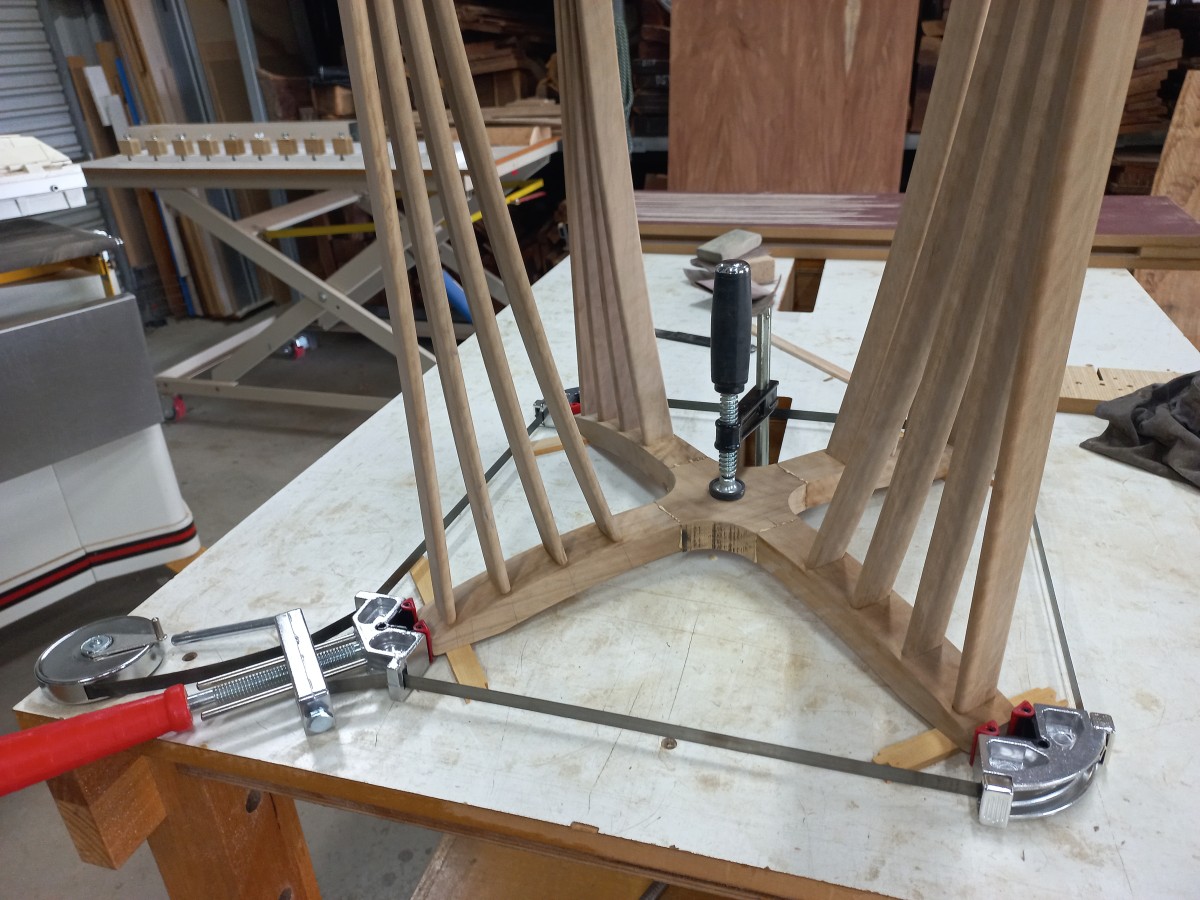
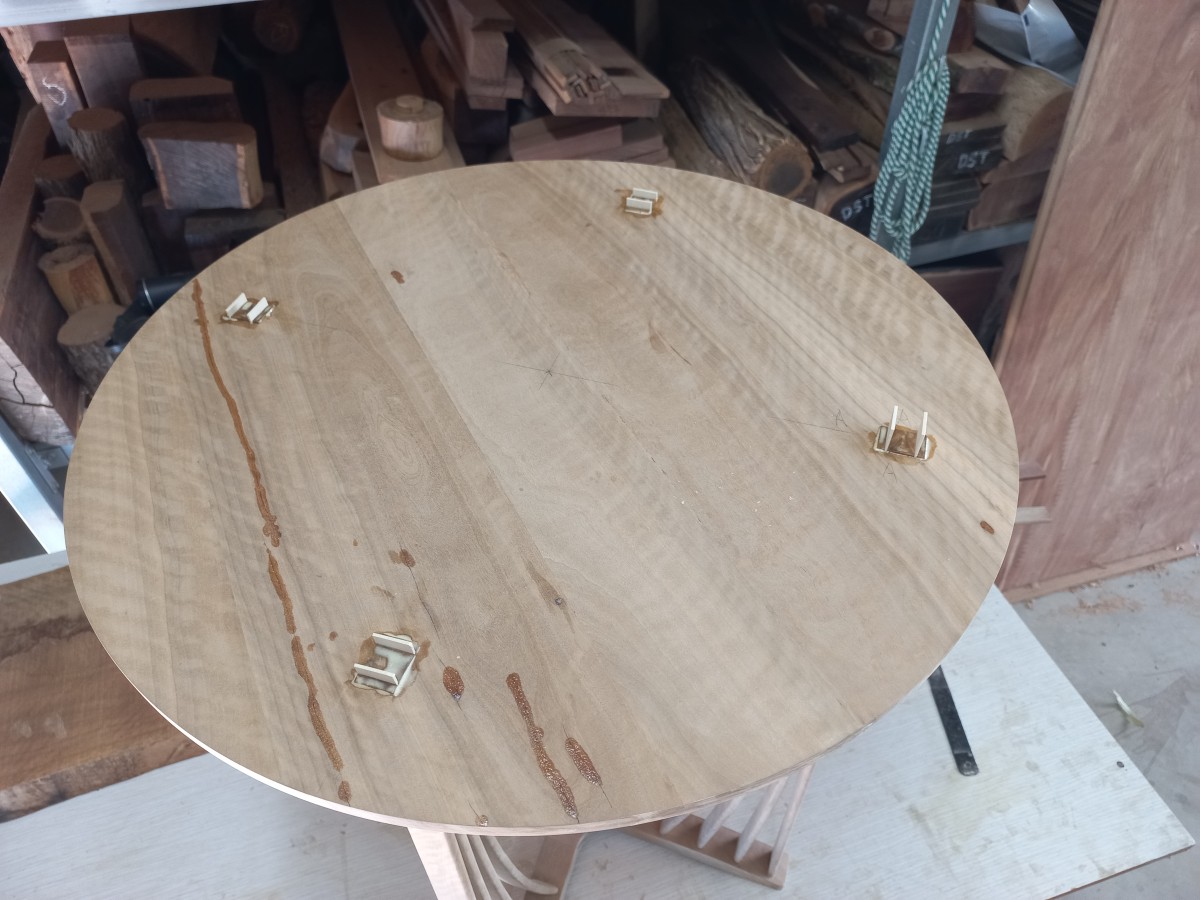
A band clamp was used to pull the 3 legs together evenly while a clamp over
the centre stopped it from rising up as the band was tightened.
The top of this table was made with two book-matched boards with the edge
tapered down by hand from 19mm to about 12mm to give it a 'lighter' look.
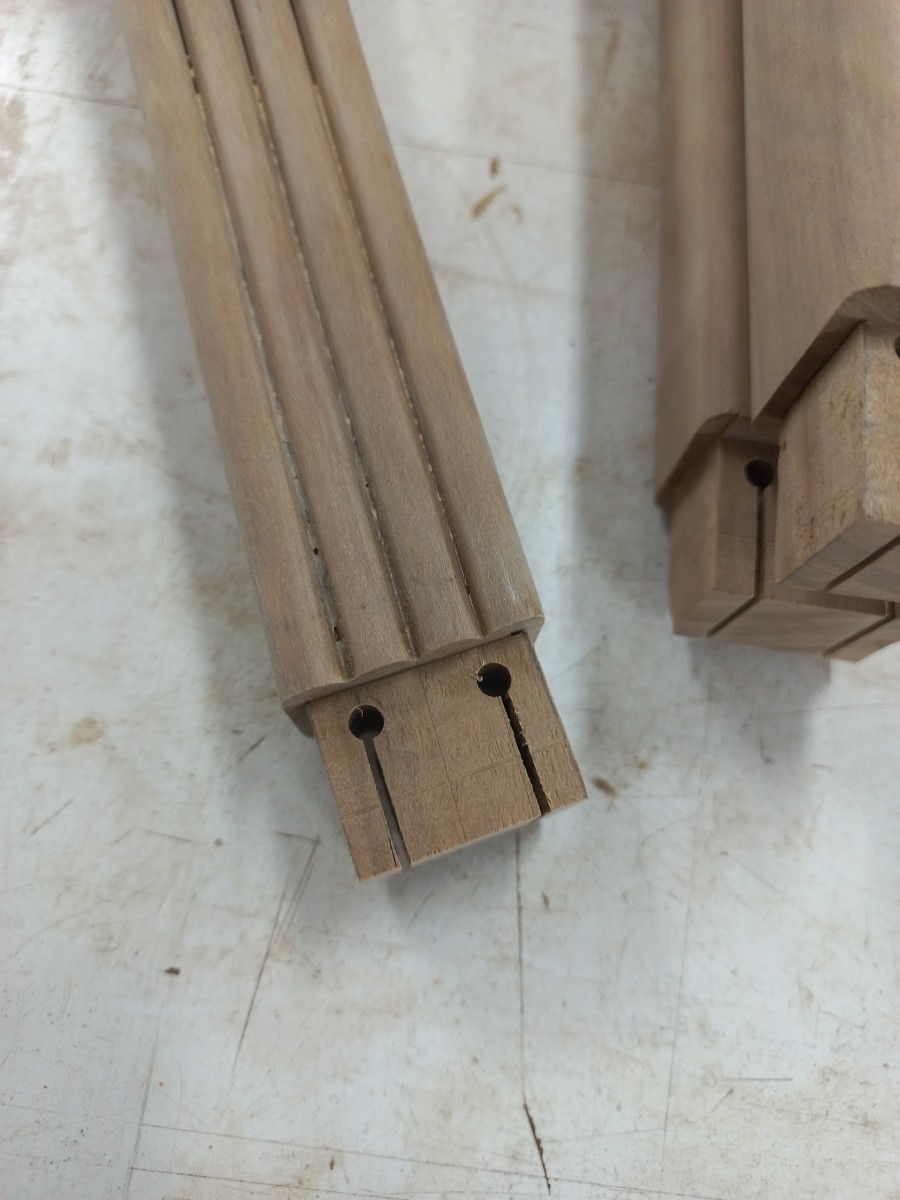
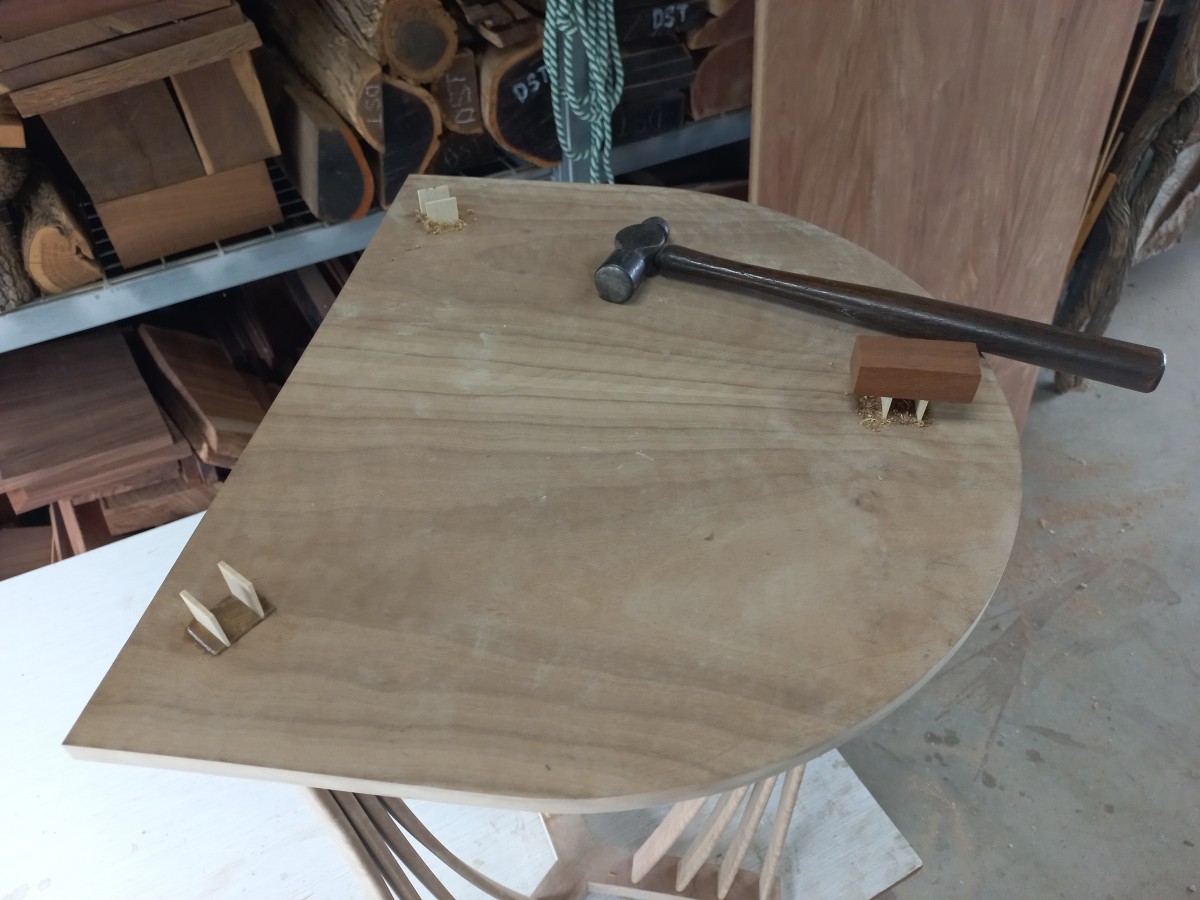
The wedges used to lock the legs in place are from Norfolk Island Hibiscus
because of its outstanding whiteness.
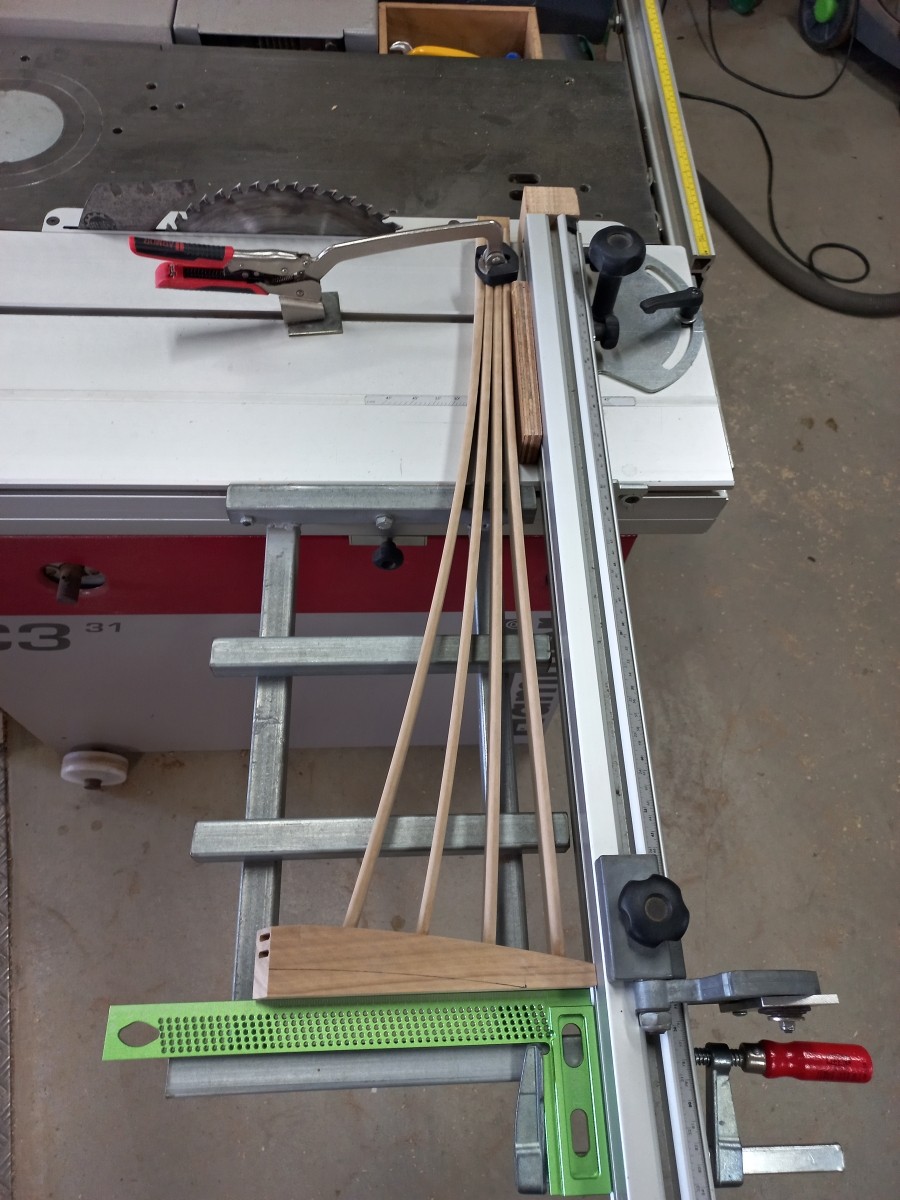
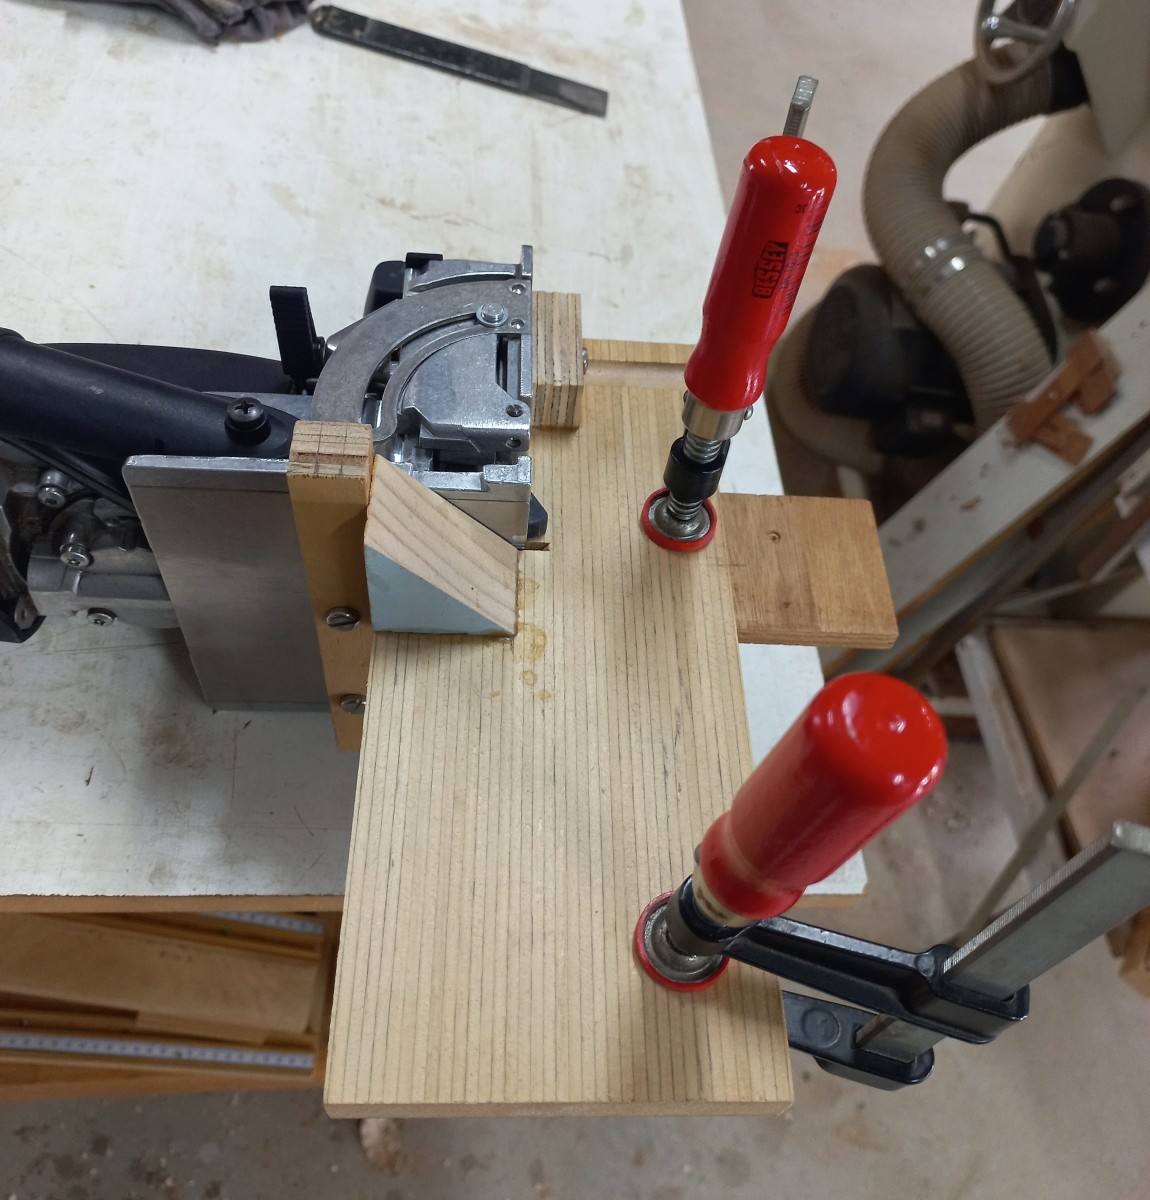
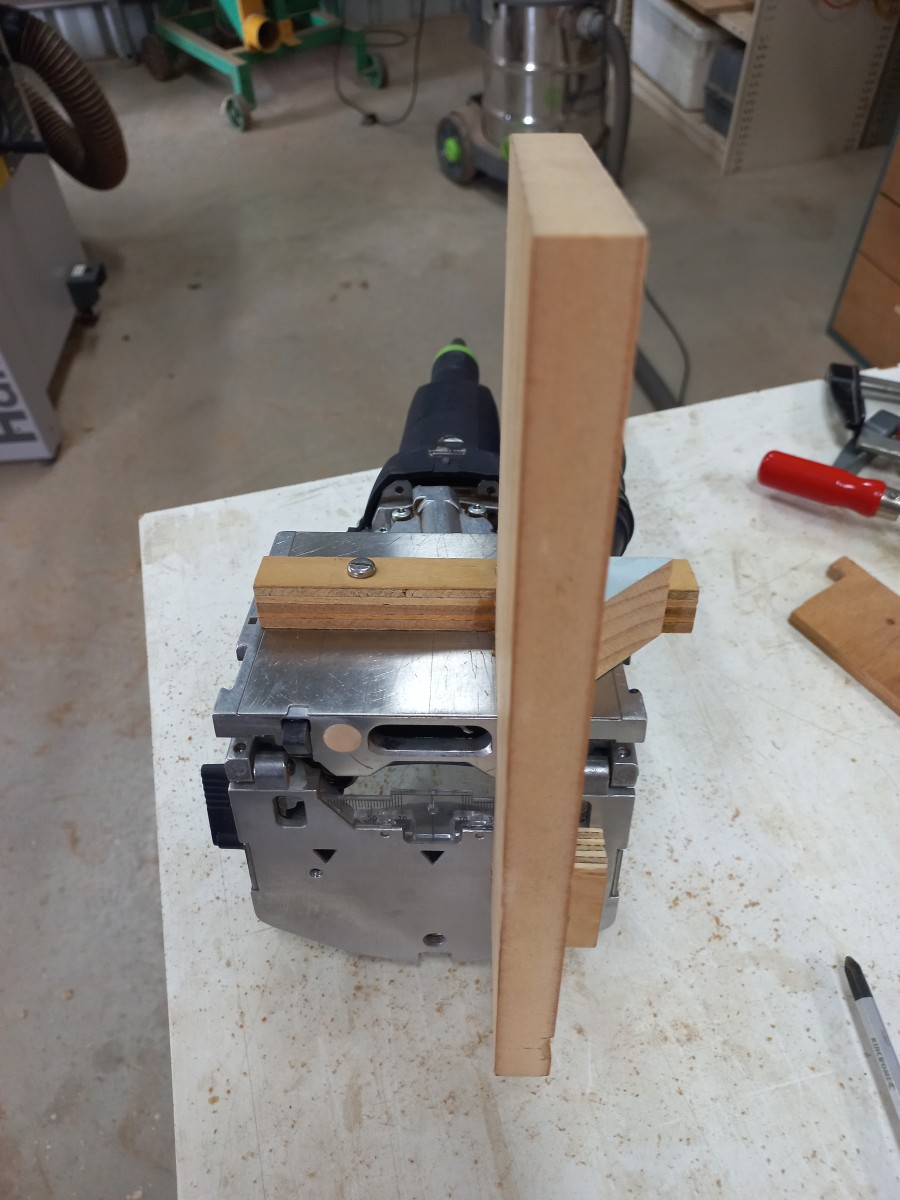
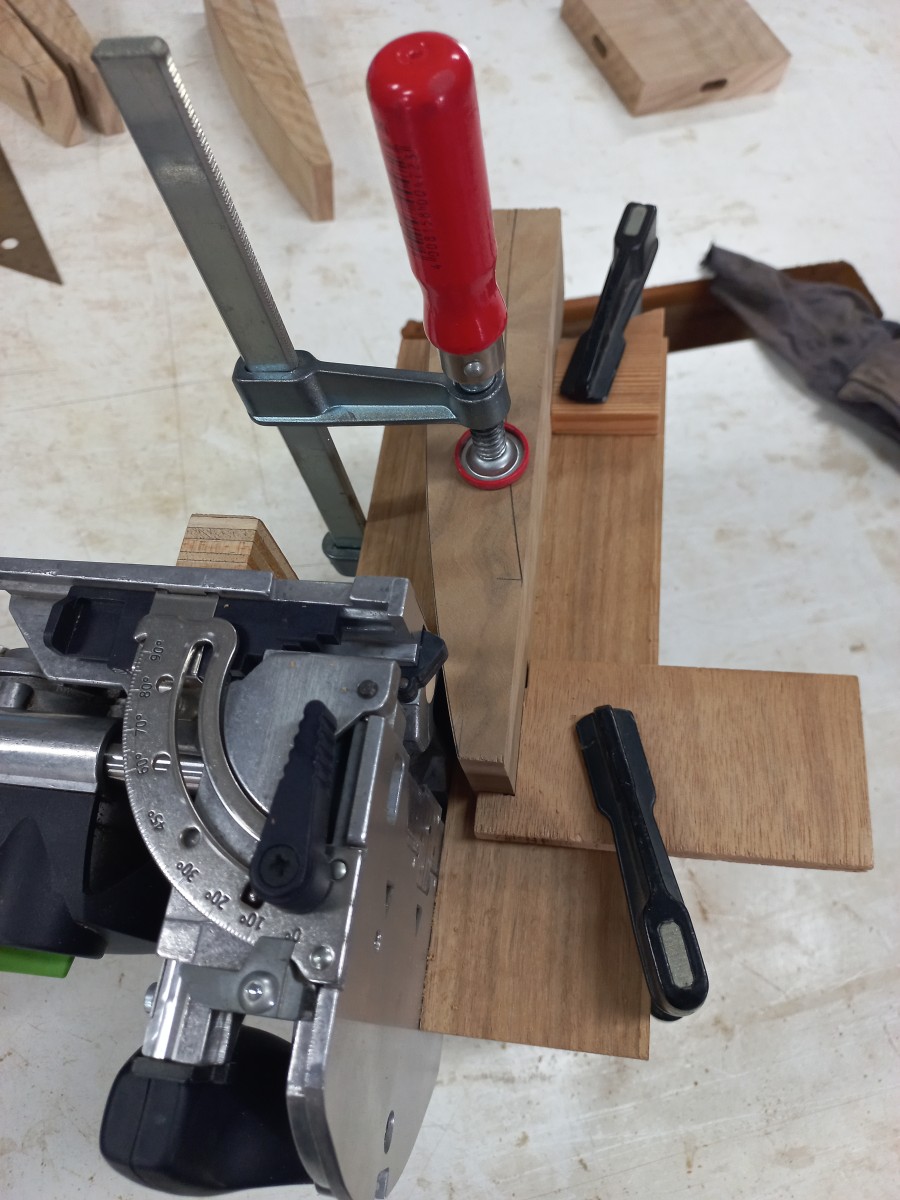
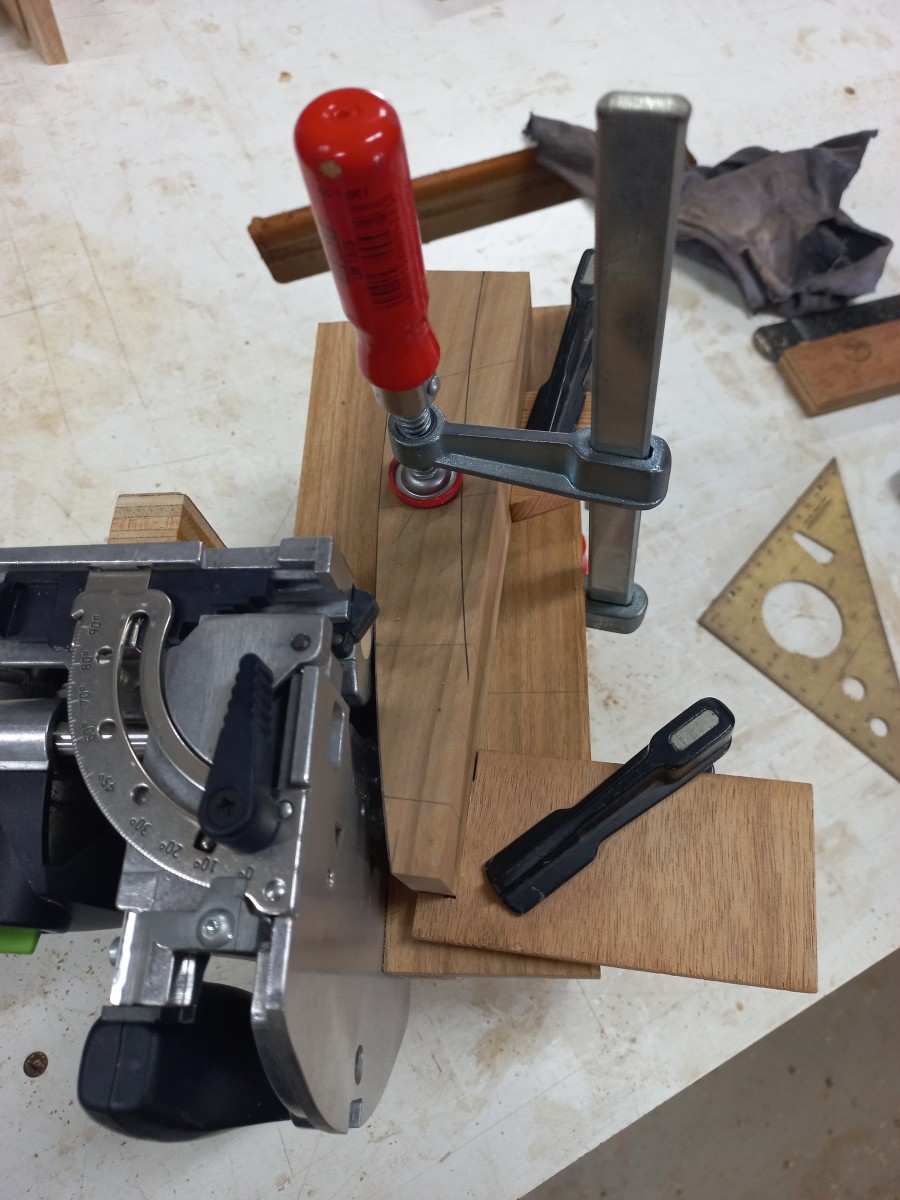
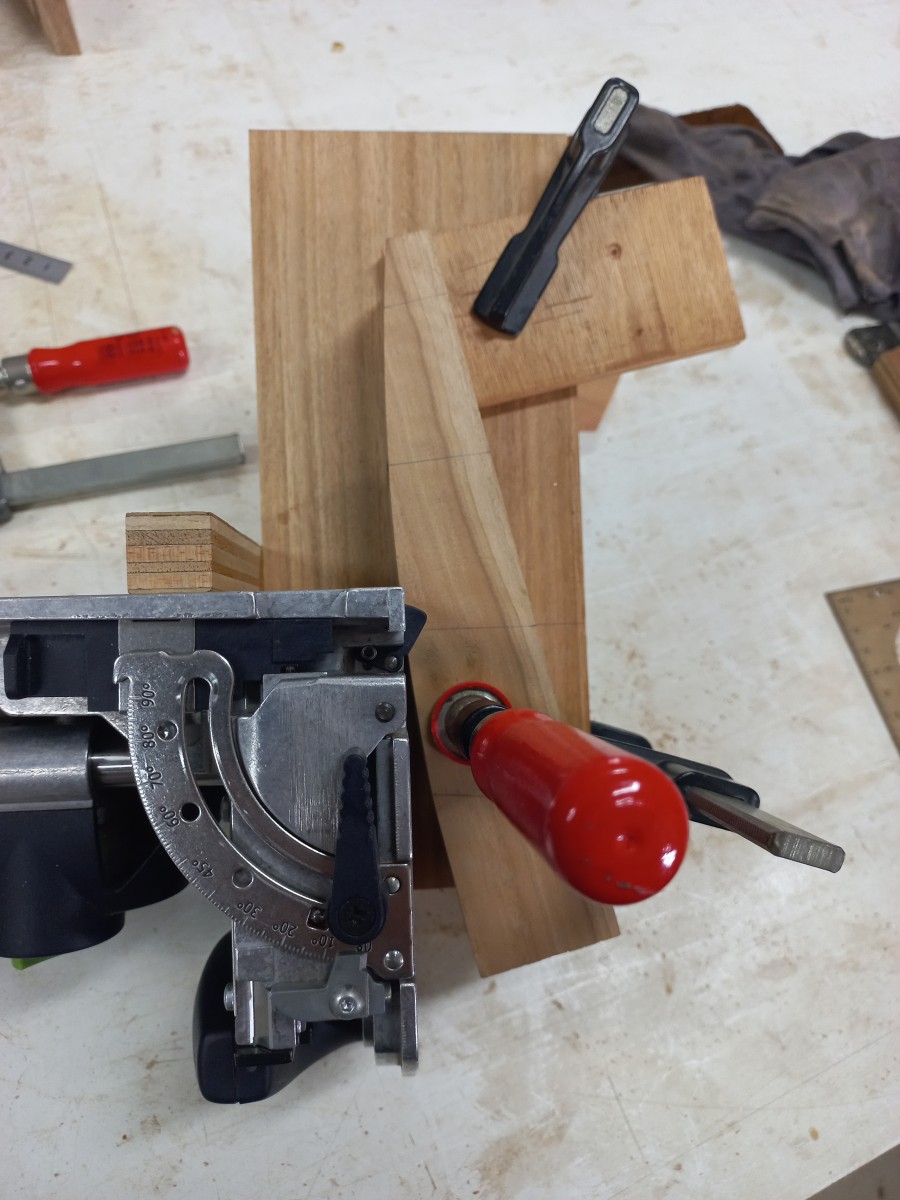
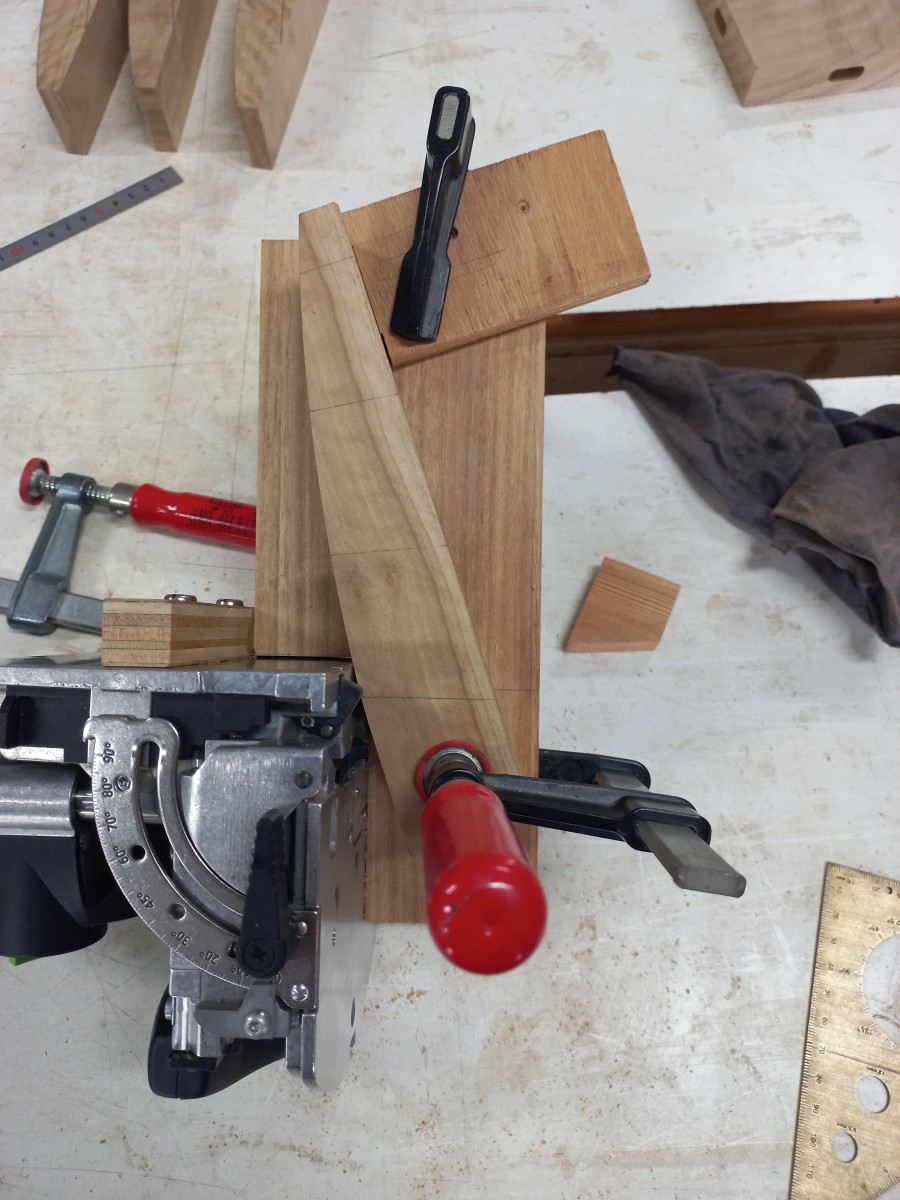
This is the jig I made for the Domino to cut the mortices in the feet of the
4-legged version.
Seen here cutting the outermost mortice as indicated by the pencil line.
Once the stop blocks were clamped in place, all four feet were cut using the
same setup.
Simple matter of moving the stop blocks to suit the second mortice, again
indicated by the pencil line.
And again for the third mortice in . . .
And the final mortice done! - far easier and more accurate than 'mad-eyeing'
it like the first table.
The main change I made on this table was to steam-bend the slats before
fitting them to give
them the desired bend without affecting the outer slat which stayed nice and
straight this time.
Once the bottom of the feet were shaped, the legs were joined to a central
block this time.
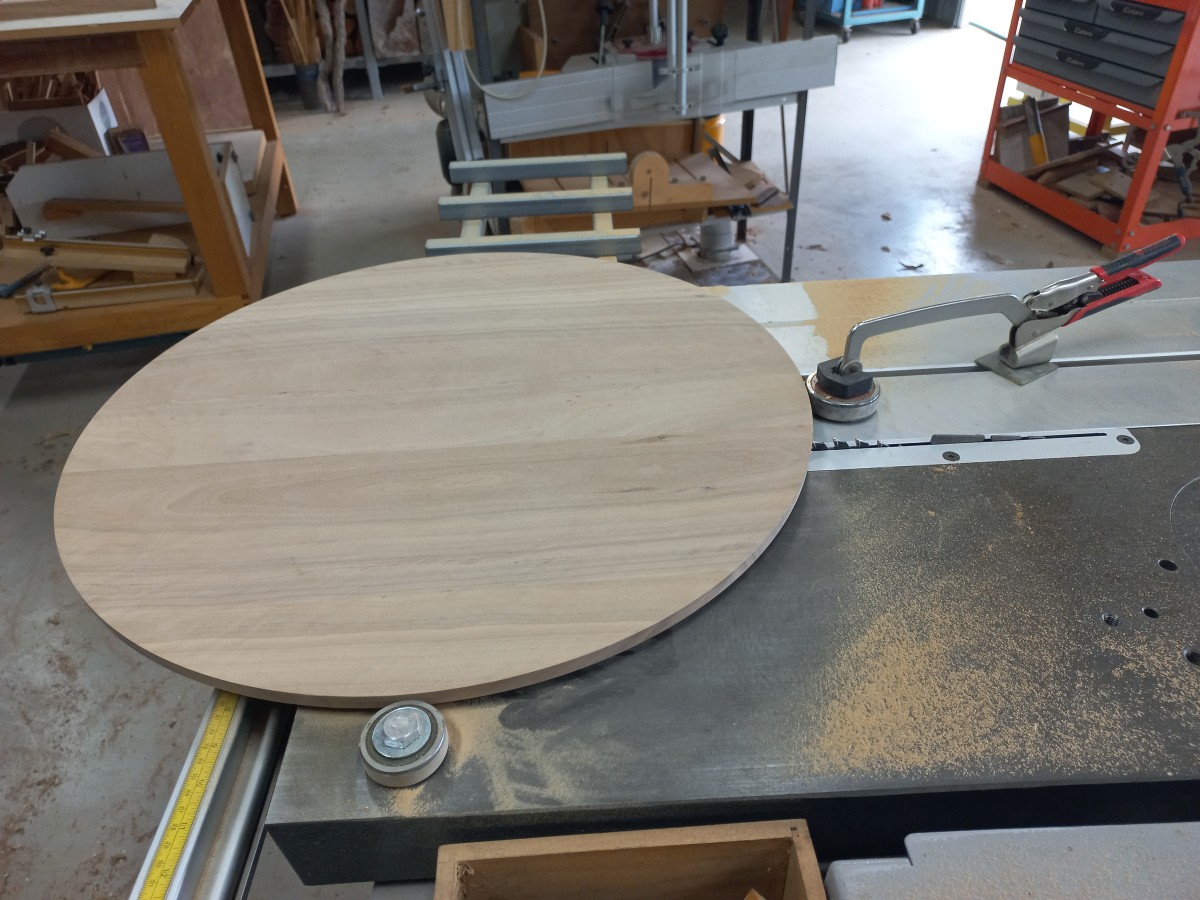
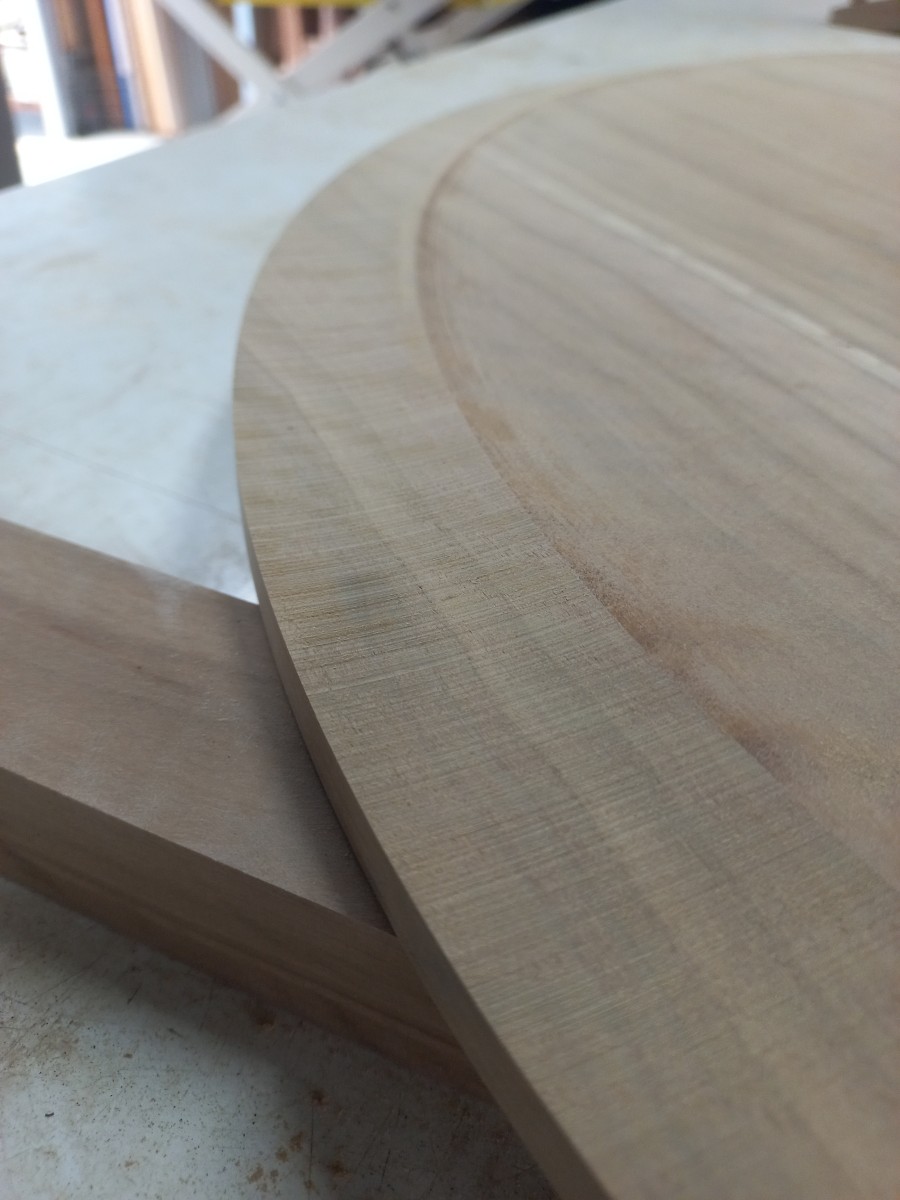
Decided to cheat in tapering the edge of this tabletop for a lighter look.
Being round meant I could attach a couple of ball-bearings in the right
spots on the saw bench (the sliding table was locked in place for this step)
and just rotate the top over the blade. The blade was raised about 2mm for
each rotation until I was happy with the look. The resulting 'cove' was
easily cleaned up by hand-sanding with a rubber form.
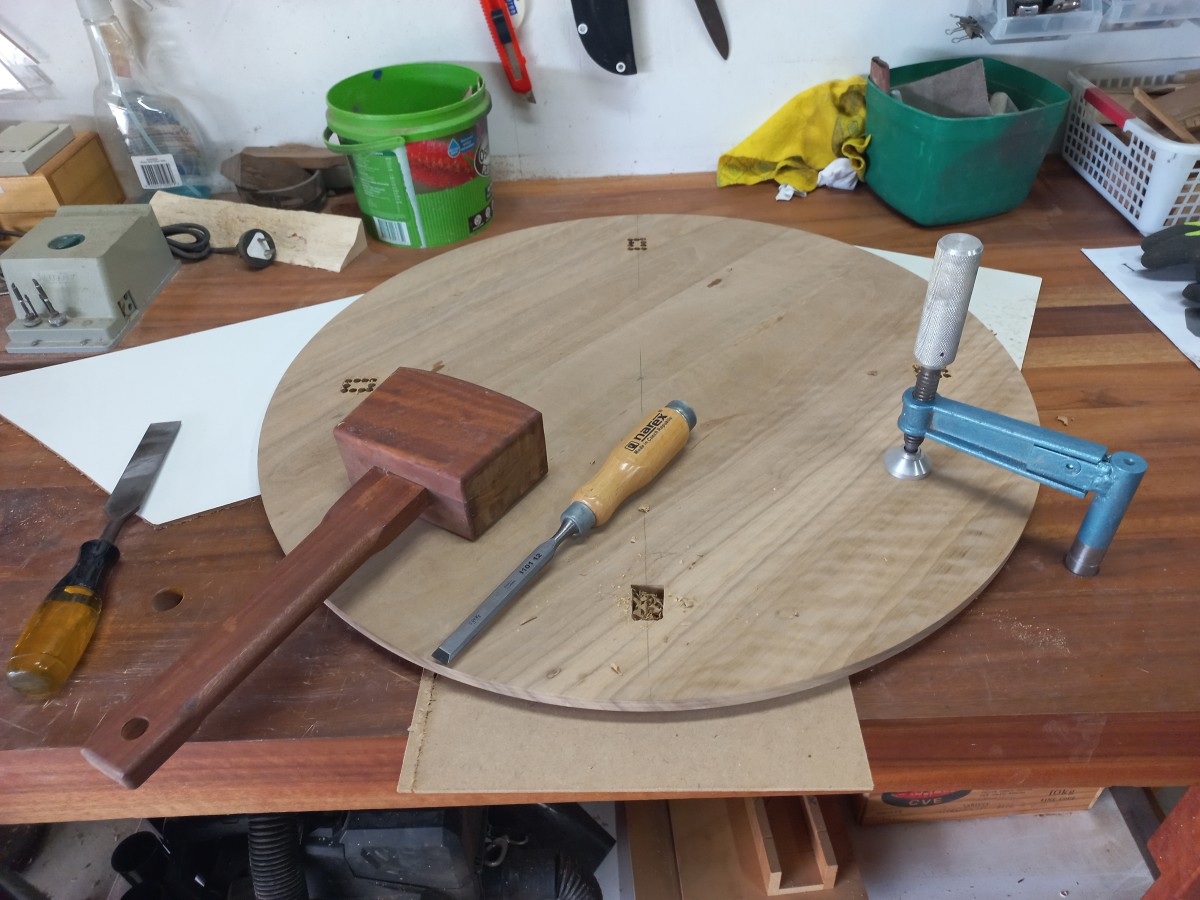
The top of the leg assembly can be placed against the table-top to mark out
the mortices precisely once their rough location is worked out. The
thru-mortices in the top were drilled first, then chopped out by hand with a
chisel.
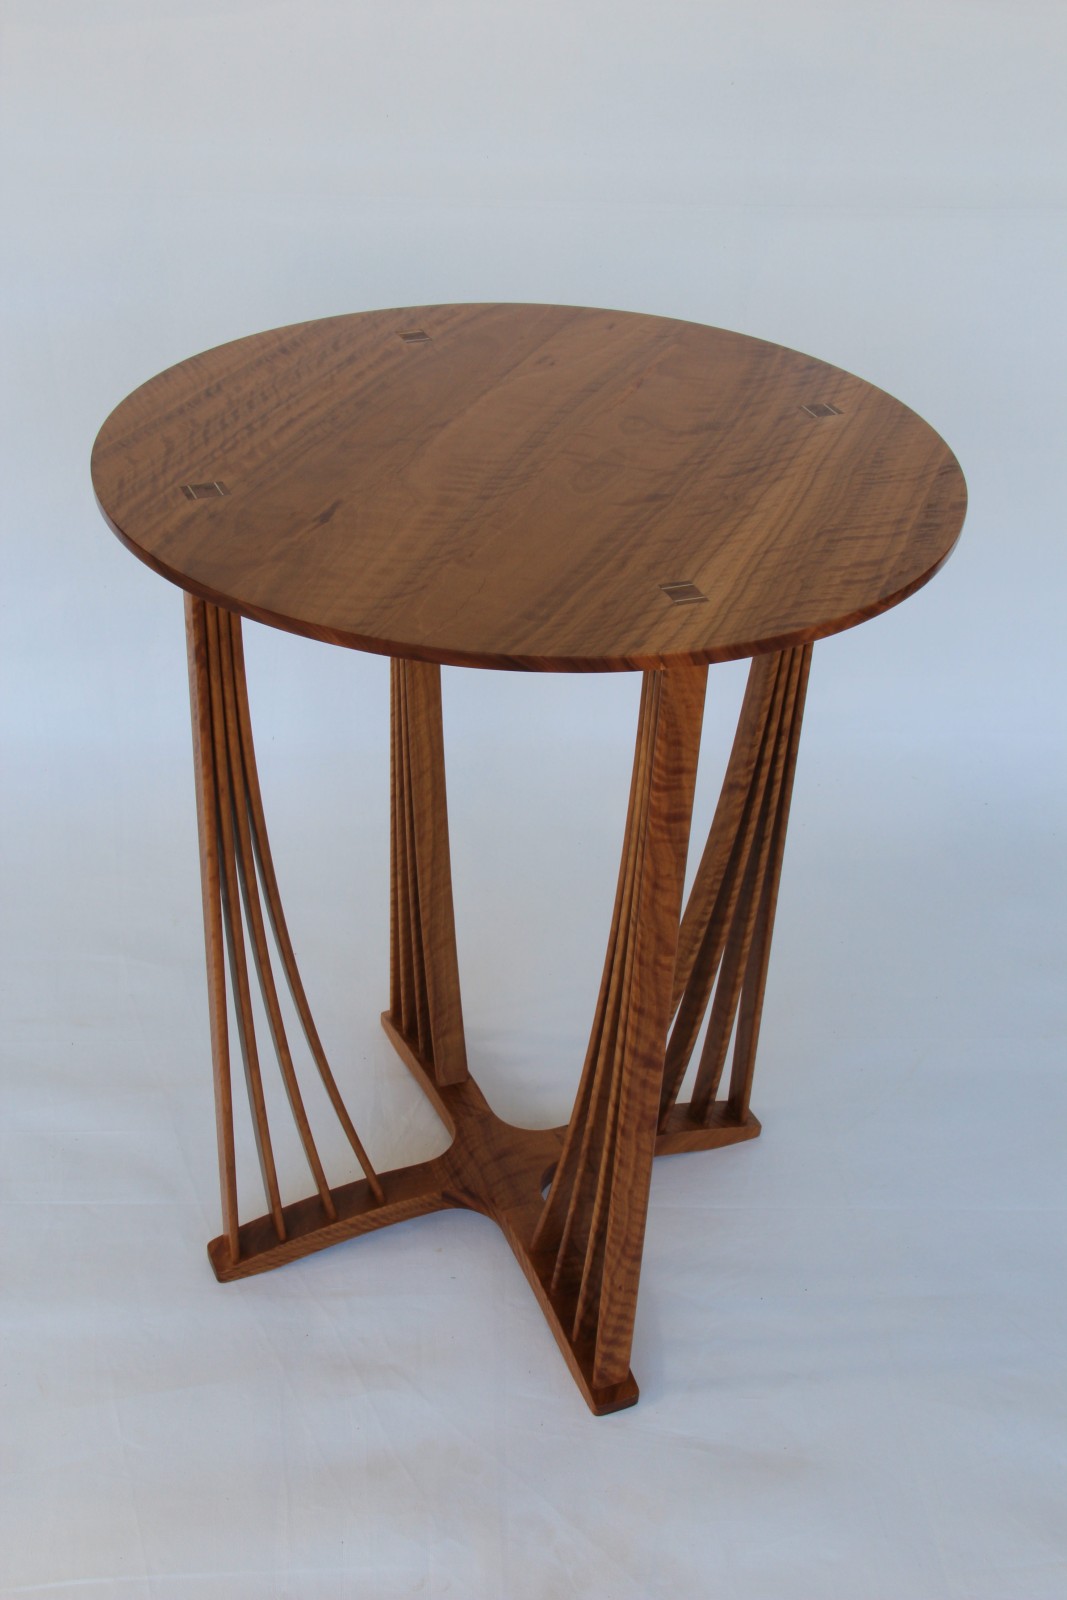
Once again, the top was locked down with Norfolk Island Hibiscus wedges.
The tables were finished with Kunos hardwax-oil as are most of my pieces.